Here is my Research Presentation. This is 5th week of Term 4. Today we are learning about - Fireworks! I just want to thank the Team 4 teachers you put up our work for us everyday. Please leave a Positive comment. I Hope you enjoyed looking/reading my Research Task! and I also Hope you and your family are staying safe and healthy, Byyeee <3
Showing posts with label W5. Show all posts
Showing posts with label W5. Show all posts
Friday, November 19, 2021

Response to Text - Fireworks Friday (W5, T4)

Response to text:
Fireworks
Highlight the correct answer or write down the appropriate response.
1. Fireworks were first made from…
a) Bombs b) Bamboo
c) Baboons d) Gunpowder
2. Where were fireworks first invented??
a) Italy b) USA
c) United Kingdom d) China
3. Explain where the word “pyrotechnics” comes from, and what it means.
→The skill of creating and setting them off is called pyrotechnics. The word comes from Greek words that mean fire and art.
4. True or False: Sodium salts create deep-red coloured fireworks.
a) True b) False
5. In what year did Guy Fawkes try to blow up the King?
a) 1506 b) 1605
c) 1650 d) November 5th
6. What are the 3 main components (parts) of a firework?
→ Oxidizer (fire needs oxygen to burn), a fuel (the something that is burning, in this case gunpowder), and a chemical mix to produce the colour.
7. Explain, in your own words, how “fireworks” can be used to save lives.
→Fireworks have helped to create many useful, and life-saving products. Railroad trains, trucks, and cross-country buses carry red flares, which are placed behind broken-down vehicles to stop crashes. Airplanes carry parachute flares to light up the ground when they are forced to land at night.
8. Do you think people should be allowed to set fireworks off at home?
Explain your reasons why or why not.
→ I mean, Fireworks can be dangerous but there is always a way they can’t. I think we all should be allowed to set fireworks at home, it’s fun and the only way it can be safe, we need to keep all the little ones away or keep them inside and watch them!!
Here is my Response to Text. This is 5th week of Term 4. Today we are learning about - Fireworks! I just want to thank the Team 4 teachers you put up our work for us everyday. Please leave a Positive comment. I Hope you enjoyed looking/reading my Response to Text! and I also Hope you and your family are staying safe and healthy, Byyeee <3
Word Work of The Day: Entertain
Here is my Word Work of the Day - Entertain. This is 5th week of Term 4. Today we are learning about - Fireworks! I just want to thank the Team 4 teachers you put up our work for us everyday. Please leave a Positive comment. I Hope you enjoyed looking/reading my Reading Task - Word Work of the Day! and I also Hope you and your family are staying safe and healthy, Byyeee <3
4 FACTS - Fireworks (T4, W5)
Here is my 4 Facts - Fireworks. This is 5th week of Term 4. Today we are learning about - Fireworks! I just want to thank the Team 4 teachers you put up our work for us everyday. Please leave a Positive comment. I Hope you enjoyed looking/reading my Reading Task - 4 Facts! and I also Hope you and your family are staying safe and healthy, Byyeee <3
Thursday, November 18, 2021
Design: Sweet and Treats T4W5 Thursday
Here is my Design Task. This is 5th week of Term 4. Today we are learning about - Diwali! I just want to thank the Team 4 teachers you put up our work for us, everyday. Please leave a Positive comment. I Hope you enjoyed looking/reading my Deigned Dishes! and I also Hope you and your family are staying safe and healthy, Byyeee <3
How to make Samosas
How to make samosas

Today you are going to share instructions on how to create samosas. Watch the video on how to make samosas . You will need to use the video to help you know all of the ingredients and equipment needed to make samosas. You will also need to use the video to help you know the step by step instructions to make samosas. Make sure that your instructions are in the right order and provide enough detail for someone else to follow and create their own samosas.
Here is my Writing Task. This is 5th week of Term 4. Today we are learning about - Diwali! I just want to thank the Team 4 teachers you put up our work for us, everyday. Please leave a Positive comment. I Hope you enjoyed looking/reading my Writing! and I also Hope you and your family are staying safe and healthy, Byyeee <3
Thursday: Word Work of the Day (W5, T4)
Here is my Word Work of the Day - Variety. This is 5th week of Term 4. Today we are learning about - Diwali! I just want to thank the Team 4 teachers you put up our work for us, everyday. Please leave a Positive comment. I Hope you enjoyed looking/reading my Word Work! and I also Hope you and your family are staying safe and healthy, Byyeee <3
Research: Around India in 80 Dishes (Thursday W5, T4)
Here is my Reasearch Presentation. This is 5th week of Term 4. Today we are learning about - Diwali! I just want to thank the Team 4 teachers you put up our work for us, everyday. Please leave a Positive comment. I Hope you enjoyed looking/reading my Presentation Task! and I also Hope you and your family are staying safe and healthy, Byyeee <3
FACTS - Diwali Sweets and Snacks (T4, W5)
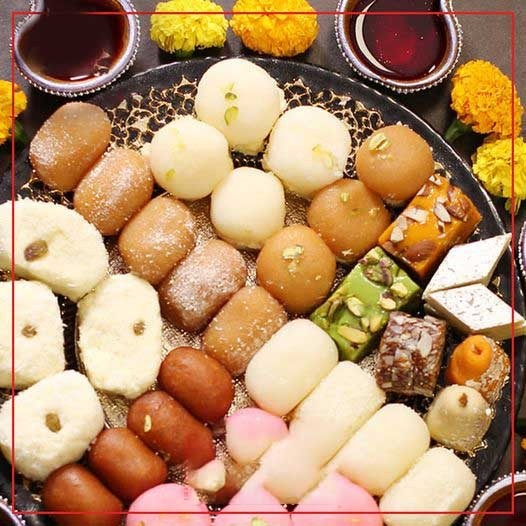
Response to text:
Indian Sweets
Highlight the correct answer or write down the appropriate response.
1. Indian Sweets are known as…
a) Maithai b) Mithai
c) My Dad d) Aloo
2. Where do the majority of people get their sweets?
a) Willy Wonka’s Chocolate Factory b) They are home-made
c) Sweet Shops d) The dairy down the road
3. “There are many variations of Indian sweets.” Explain what “variations” means in your own words
→ A change or slight difference in condition, amount, or level, typically within certain limits.
4. True or False: Barfi comes from the Persian word for snow.
a) True b) False
5. Jalebi originally comes from which area of the world?
a) Africa b) China
c) India d) Middle East
6. Which sweet is made from “ maida ”?
→Jalebi!!
7. Explain, in your own words, why Indian sweets are not good to eat all the time.
→ Indian sweets are tooo sweet, and it might give us weight gain, blood sugar problems and an increased risk of heart disease, among other dangerous conditions.
8. Which one of these dishes would you like to try the most. Explain why.
→ I would like to try ‘JALEBI’ again, it is just………so delicious and so sweet! I recommend you all should try it. (Don’t eat too much though!)
Here is my Response to Text. This is 5th week of Term 4. Today we are learning about - Diwali! I just want to thank the Team 4 teachers you put up our work for us, everyday. Please leave a Positive comment. I Hope you enjoyed looking/reading my Response to Text! and I also Hope you and your family are staying safe and healthy, Byyeee <3
FACTS - Diwali Sweets and Snacks (T4, W5)
Here is my 4 Facts - Sweets and Snacks. This is 5th week of Term 4. Today we are learning about - Diwali! I just want to thank the Team 4 teachers you put up our work for us, everyday. Please leave a Positive comment. I Hope you enjoyed looking/reading my 4 Facts! and I also Hope you and your family are staying safe and healthy, Byyeee <3
Tuesday, November 16, 2021
Rangoli (Reading Article T4, W5)
Rangoli: A Colorful and Creative Expression of Indian Folk Art
By Sarah Gough
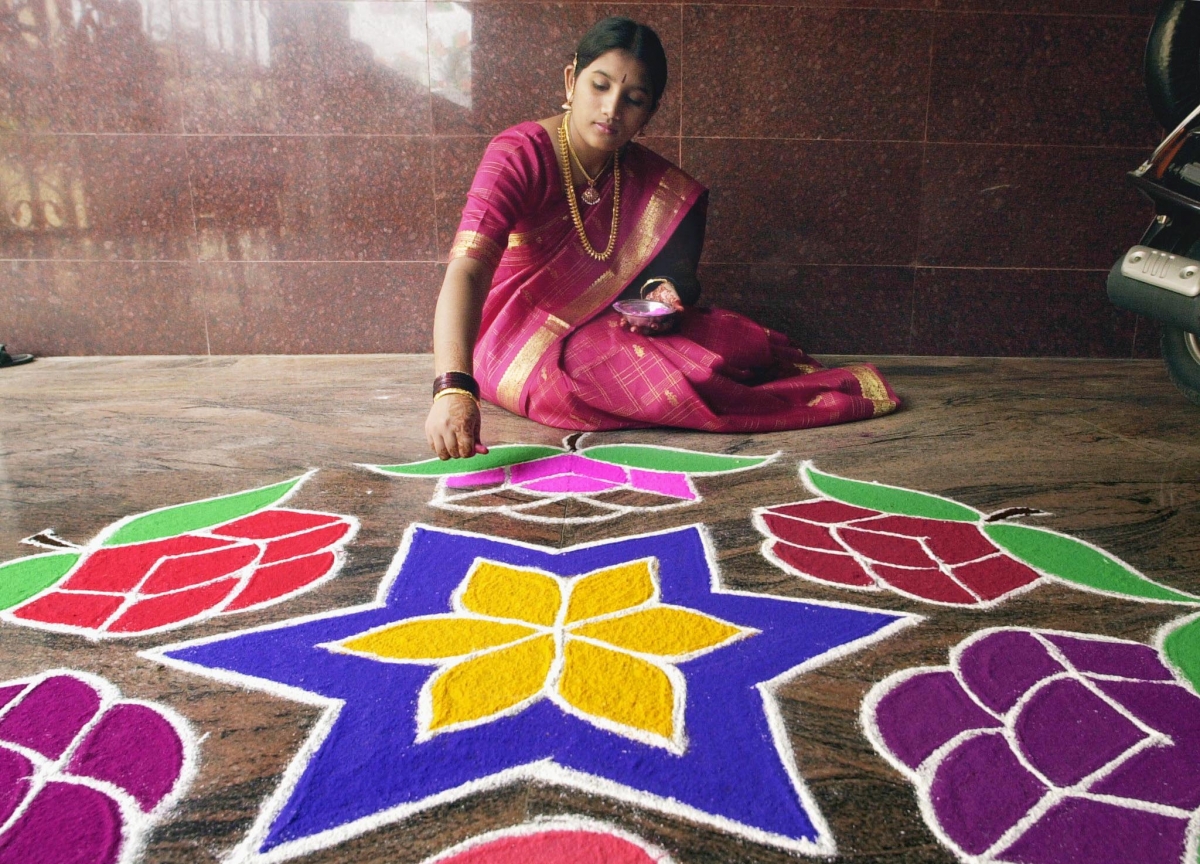
The making of colorful patterns on the floor using a mix of materials such as sand, flower petals, rice flour, lentils and beans, is what forms a Rangoli -- one of the most beautiful Indian folk arts.
Traditionally, Rangoli is an art of decoration drawn on the floor or the entrances of homes. It is thought to bring good luck, prosperity on the house and in the family, and to welcome guests.
Some mothers in India do this activity every morning, or on a special festive occasion like Diwali, Onam, and Pongal. It is a folk art that is passed from one generation to another as mothers teach the art of Rangoli to their kids.
Each state of India has its own way of making Rangoli and they are called by different names. In South India, Rangoli is known as Kolam. In Rajasthan, the Mandana are drawn on walls. In Kolkata, Alpana is drawn in the courtyard. In Maharashtra, Rangoli is drawn on the floor.
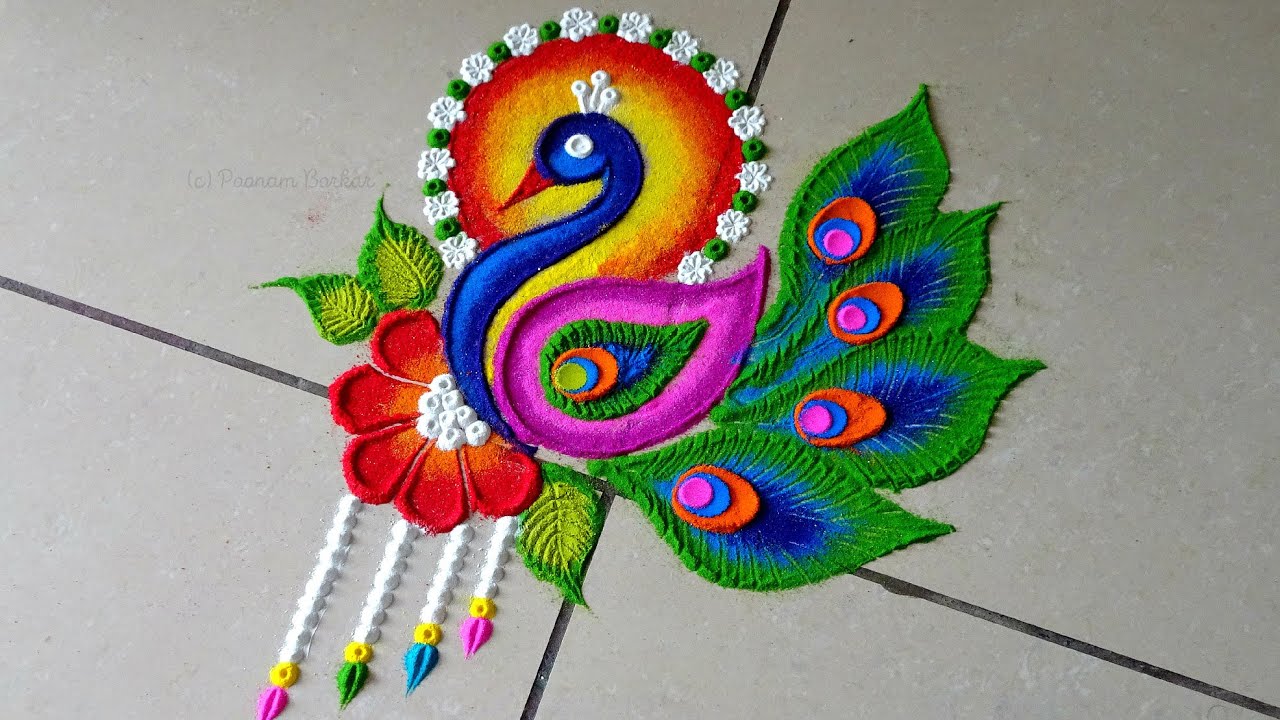
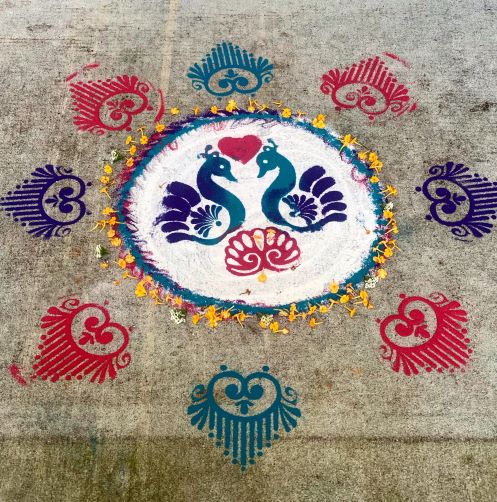
Rangoli designs can be simple geometric shapes, floral shapes or they can also be very elaborate designs. Some common symbols used in Rangoli are peacocks, lotus flowers, mangoes, and fish. The most important element of Rangoli is being colorful!
Rangoli can be made on the floor, sidewalk, or entrances of homes. The materials used can easily be found in your pantry, yard, or a regular grocery store. Typical materials include rice flour (either plain or dyed), as well as lentils and beans to feed birds and ants. Rangoli is supposed to be meaningful to others, from honored guests to the smallest creatures, as well as being beautiful.
Here are a few things you can use for your Rangoli:

Colorful Flower petals
Rangoli Powder/Chalk Powder
Colored Raw Rice
Raw Beans/Raw Lentils
Raw Colorful Pasta
Rice Powder
Salt or Epsom Salt
Rangoli tools (optional)
Use items available at home like plates, bowls, bottle caps, or bangle bracelets to create perfect circle designs. Use a paint brush tip or Q-tips to fill in the finer details.
INSTRUCTIONS:
Fill an empty salt/pepper shaker with Rangoli colors for an easy shaker to fill in the design.
To make colorful rice, pasta, or salt: measure 1 cup of rice, pasta, or salt into a container that comes with a lid (or a sealable bag). Add food coloring and 1 teaspoon of vinegar. Put the lid on the container or seal the top of the bag, and shake everything up until the color is evenly distributed. Spread the material in an even layer on a paper plate or towel until dry. For faster drying, spread materials on a sheet tray and put in the oven at a low temperature, stirring occasionally until dry.
Choose the design you want to make -- either geometrical, a floral design, or get creative and follow wherever your inspiration leads you!
Decide where to draw your Rangoli. You can draw on the floor or outside of your house.
Give dimension to your outline with white textured material like rice flour, Rice flour/Rangoli Powder is usually applied freehand by letting it run from the gap formed by pinching the thumb and forefinger.
Choose the materials you will use to fill in the design. Use natural materials easily found in your house or garden. You can use flower petals, leaves, colored rice, chalk or Rangoli powder, beans etc.
Have fun creating, but tidy up your mess!
Subscribe to:
Posts (Atom)